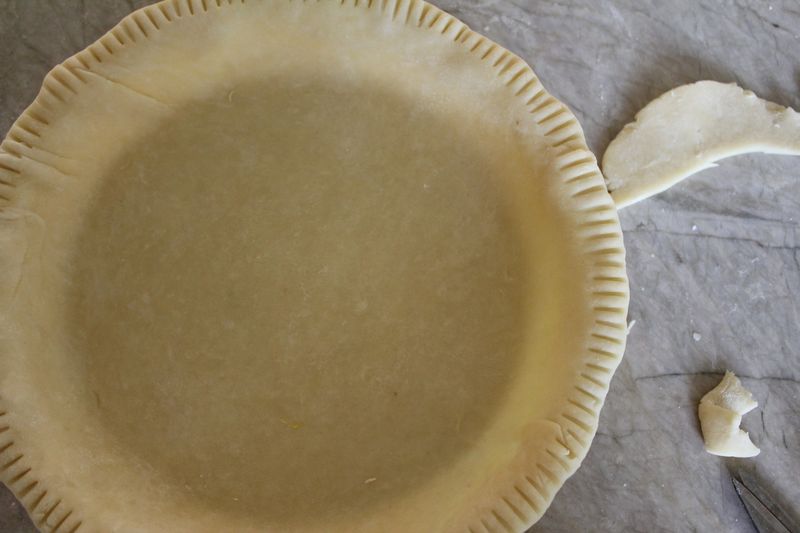
When most kids are young, they play with Play-Dough. I played with pastry dough. When my mother made pastry, she would give me the scraps to play with. Unlike Play-Dough, it really was edible and I would make my own little pastries with sugars, jams, nuts, chocolate chips or whatever we had around. The kitchen was my play room. It was no surprise that as an adult I found myself cooking professionally as a pastry chef.
When my friends learn of my former career of making desserts, one of the first things they ask me is how to make pastry dough. Today I am going to show you.
There are all sorts of pastry dough one can make; pate sucree, pate brisee, flaky, nutty, puff, danish, choux, and phyllo. I am sharing this recipe for my favorite simple, rich, flaky dough. I like to use it for both sweet and savory pies as it is very forgiving, with great flavor and texture, and difficult to mess up. With Thanksgiving coming up, you will be able to use this dough for your favorite holiday pie and it will be just as good as a topper for turkey pot pie with made with your leftovers. Even though I do not eat much pie these days, I use this recipe to make pies for my family. They would be very upset if I didn't make pumpkin pie for Thanksgiving.
I hope that this simple to follow recipe along with the step by step instructions will give you confidence to make a fantastic pie this holiday season.
| Basic Flaky Pastry Dough | |
| Makes enough for 2 9 inch pies or 1 pie with a topper. | |
| For all ingredients, please use organic. Organic butter will make a big difference in the taste. | |
| 14 tablespoons | unsalted butter, cold (vegan butter sticks will also work) |
| 11 1/2 ounces | flour |
| 1/2 teaspoons | salt |
| 5 tablespoons | milk or water, cold (use a bit more if dough is too dry) |
| 1 tablespoon | cider vinegar |
| Put the flour and salt in the bowl of a standing mixer fitted with the paddle attachment. | |
| Cut the butter into small pieces and add them to the flour. Mix on low speed until the mixture is crumbly and the butter pieces are roughly pea sized. | |
| Combine the milk and vinegar. While the machine is running add the mixture to the flour and butter. Stop as soon as the dough begins to come together. Do not over mix. | |
| Divide the dough into 2 pieces. Pat into rounds, wrap in plastic and refrigerate or freeze for at least 30 minutes. If freezing for an extended period of time, be sure to wrap tightly in plastic wrap before doing so. | |
| If you don’t have a standing mixer, use a food processor fitted with a metal blade and use short pulses to process the dough. If you don’t have either, use a tool called a pastry blender or your fingers. If you use your fingers, be sure to work quickly to keep the butter as cold as possible. | |
The butter should be super cold and fresh from the refrigerator before you add it to the flour.
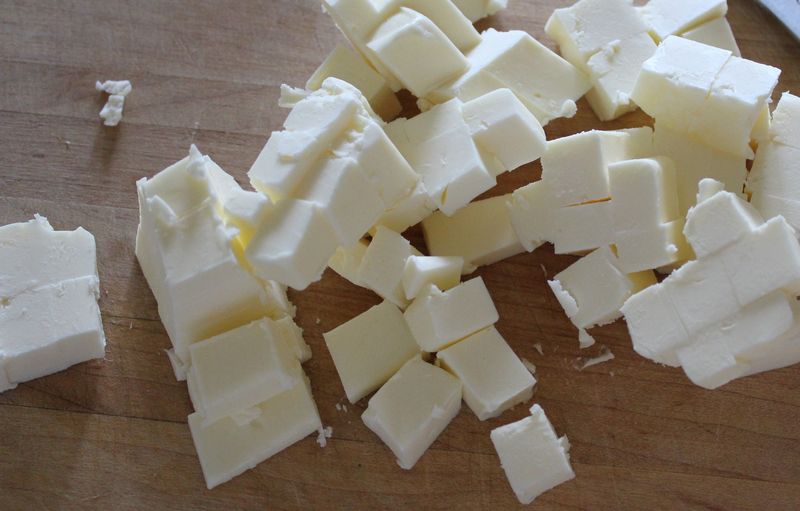
While the butter gets mixed into the flour, it breaks down into smaller and smaller pieces.This is about the size the butter pieces should be when its time to add the milk and vinegar. They should be a little chunky as this is what makes the crust flaky.
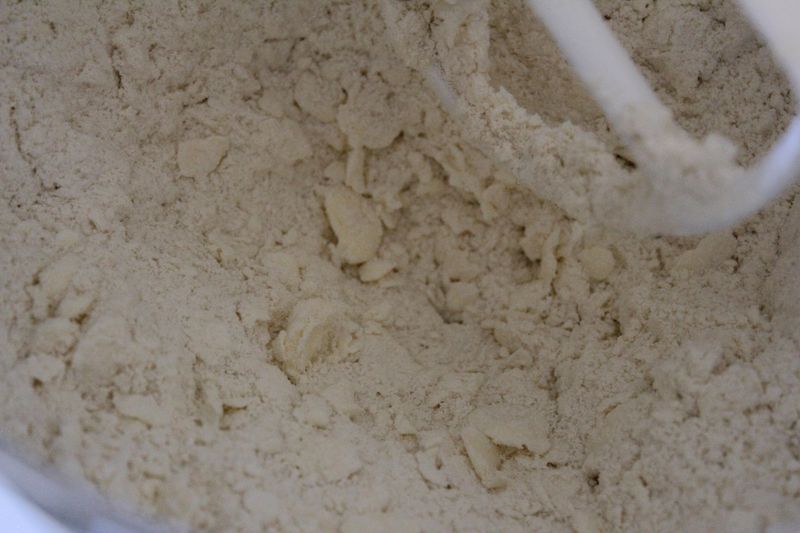 This is what the dough looks like when its done. If you over mix the dough, the gluten will develop too much in the flour and your crust won't be as tender.

At this point, swiftly and gently gather the pieces of dough, shape it into 2 thick patties, wrap in cling film, and refrigerate for a minimum of 30 minutes.
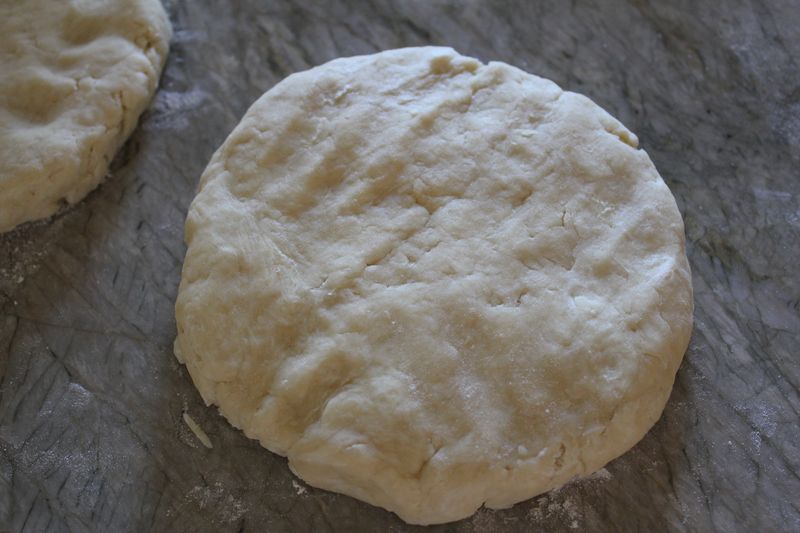
After the dough has had time to rest and chill, you can roll it out and prepare your pie or tart shell. Be sure to unwrap it on a well floured surface and keep a small dish of flour handy.
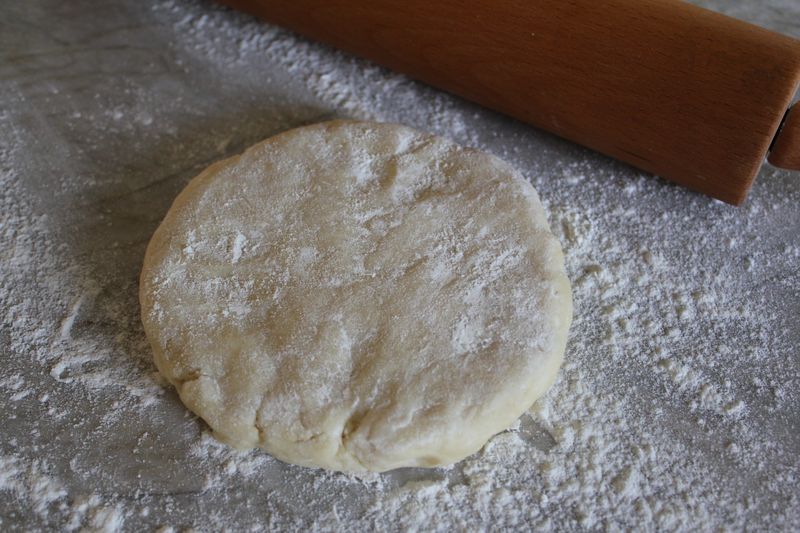
You will find that the dough will be almost too cold and hard to roll out. I like to press it down a little with my hands and use the rolling pin to press it out. Be sure to do this in more than one direction to maintain a somewhat round shape.
Begin rolling in the same manner, rolling from the center out. Either rotate your rolling pin in different directions or turn the dough as you roll assuring the you get a piece as round and even in thickness as possible. Unless you are using a rectangular pie dish, do not just roll back and forth. Take your time and if the dough tears patch it with a piece from the periphery. DO NOT GATHER UP THE ROLLED DOUGH AND START OVER.
If you don't have a rolling pin, use any weighted cylindrical object -- a wine bottle will do the trick in a pinch. Continue to lightly flour the surface above and below the dough while you are rolling to prevent sticking.
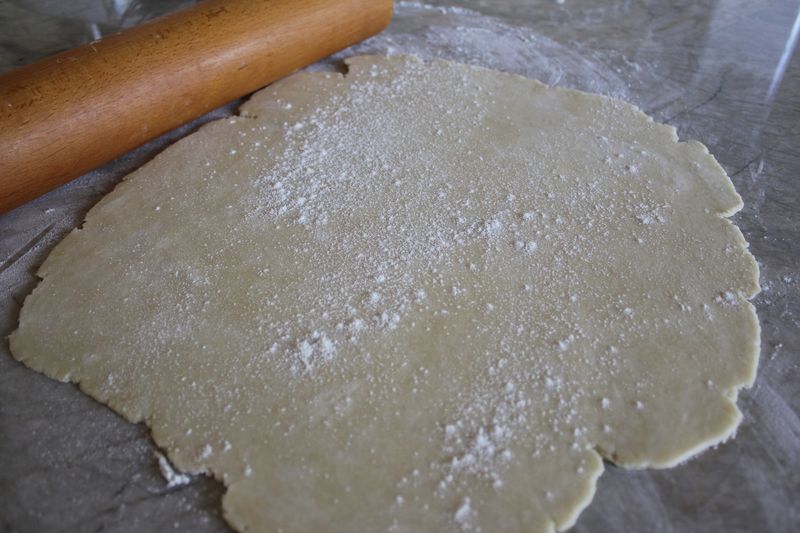
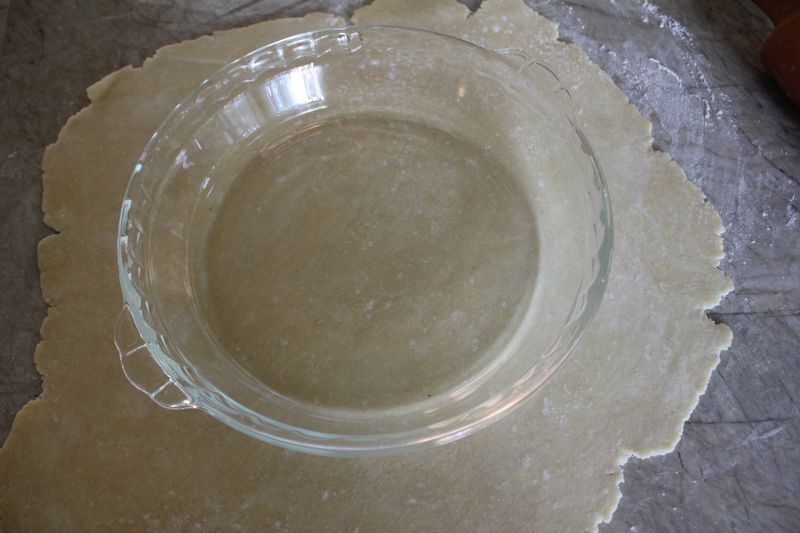
Use your pie plate to measure the rolled dough being sure that you have rolled it out to the right size.
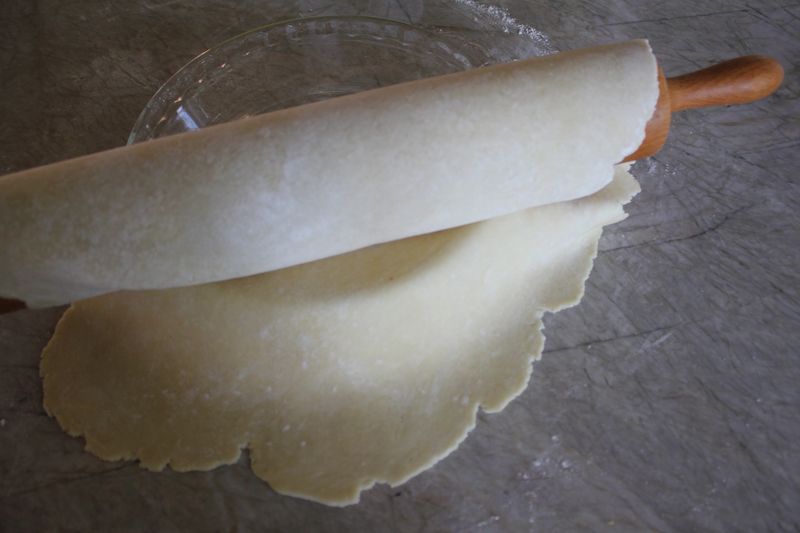
When the dough is about 1/8 inch thick, loosely roll it over the rolling pin and transfer it to the pie plate. Don't worry about little tears with this particular dough. It's very forgiving and easy to patch.

Notice how the butter pieces create a mottled marbled design in the dough when you roll it out. Those pieces melt during baking and create little air pockets and layers in the crust. This is one of the things that make the crust flaky.
Cut the dough around the edges leaving a 1" - 1 1/2" flap all the way around. Fold the flap under and crimp the edges by lightly pinching the outside while countering it with a finger on the inside.
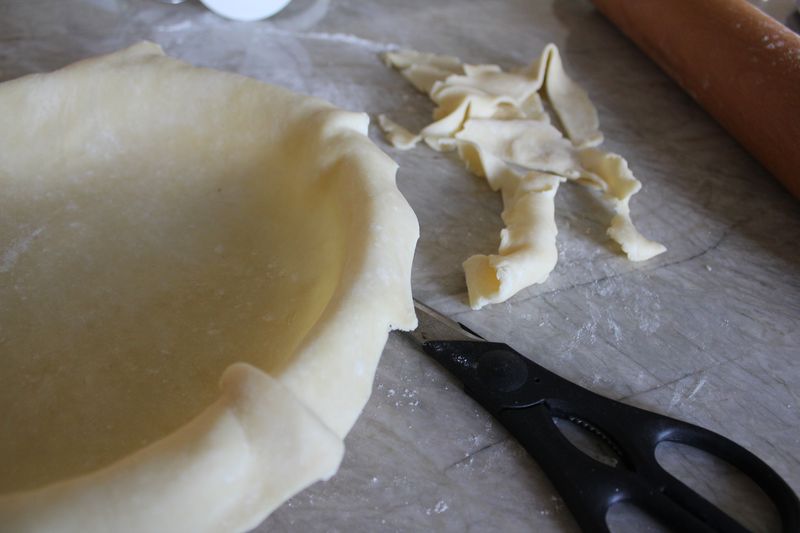

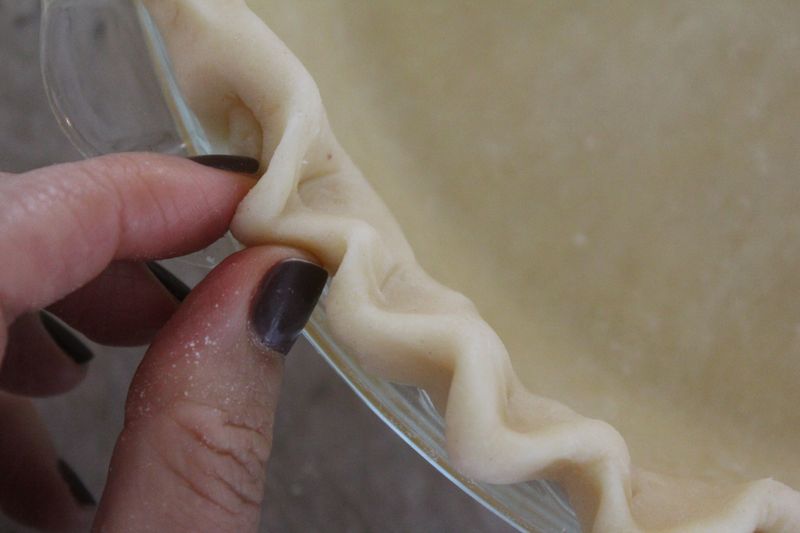
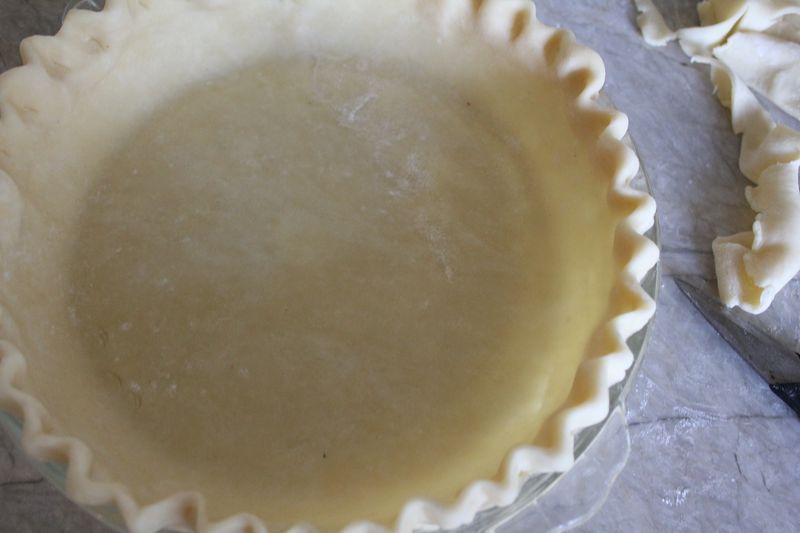
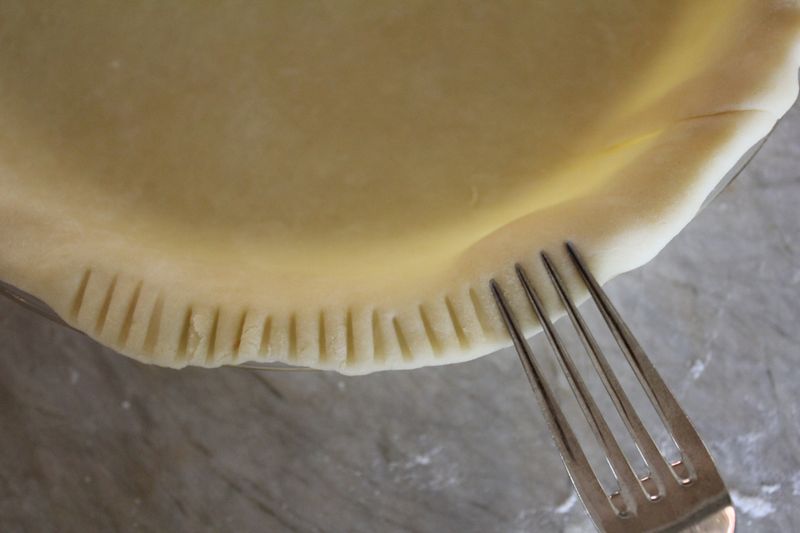
If you want an easier alternative to fluting or crimping, leave the edges simply folded under and use the tines of a fork to create a decorative edge.
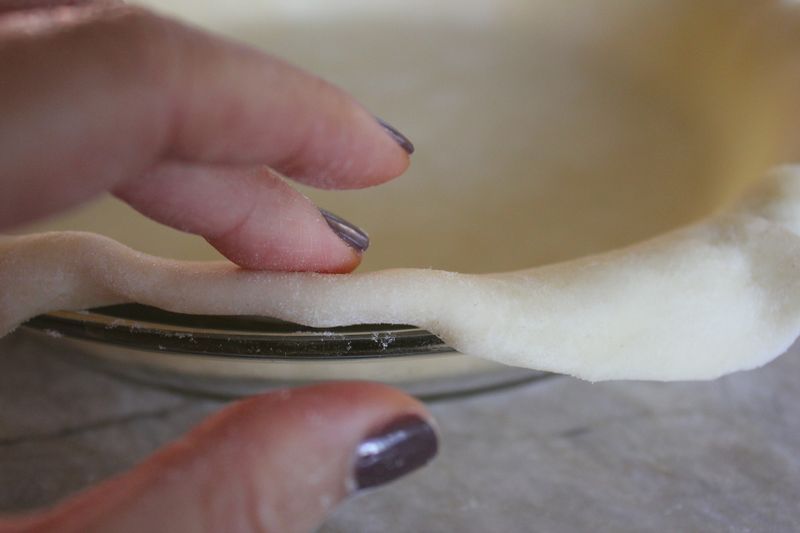
 Put your finished shell in the refrigerator or freezer to chill for at least an hour. The shells freeze beautifully. If you are planning ahead, make them and freeze them until ready to use. For most pies, defrosting is not even necessary.


